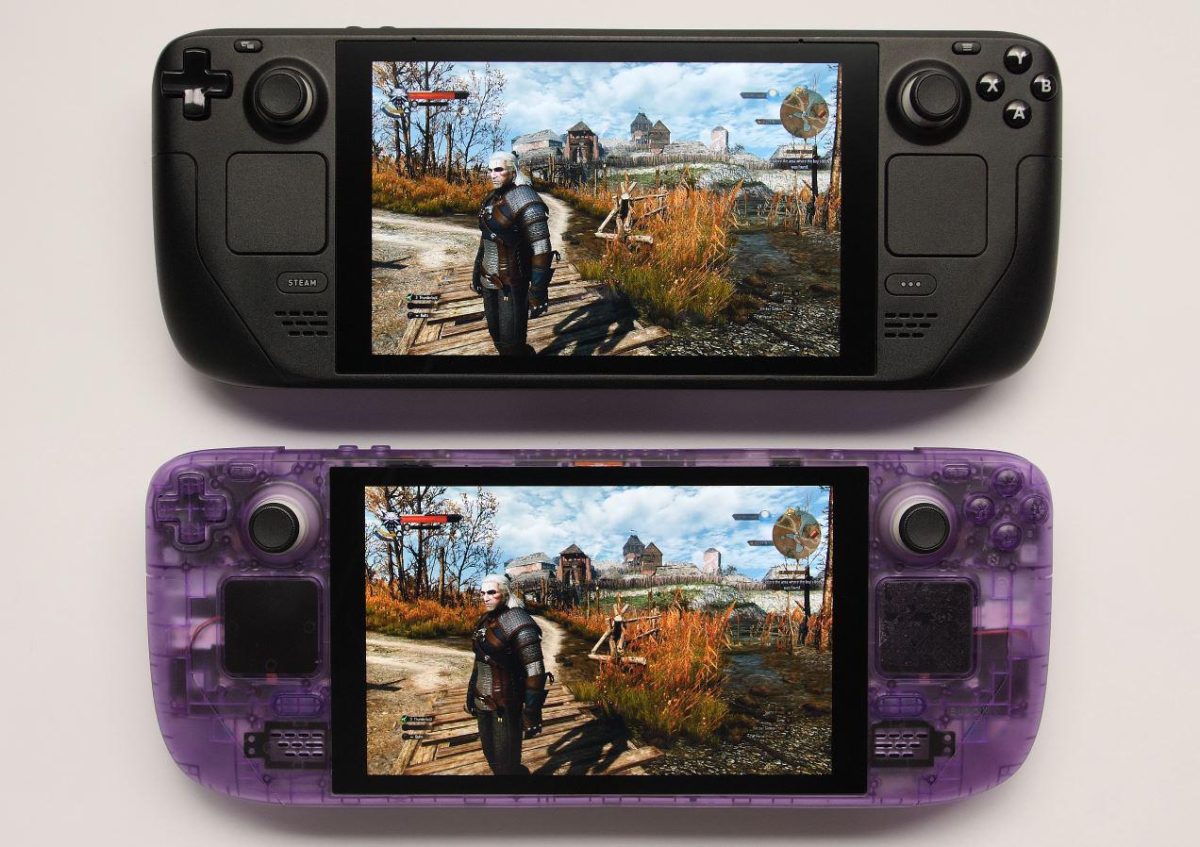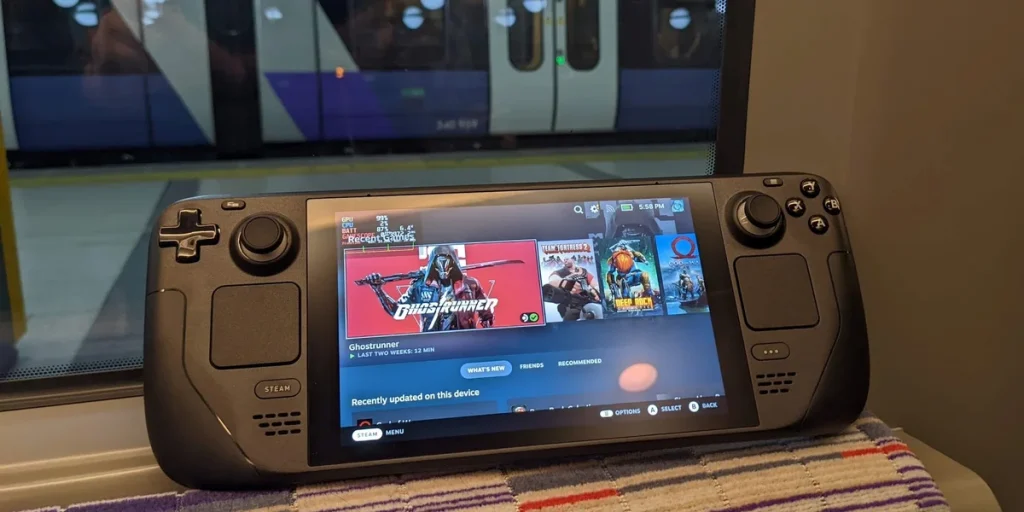
The Steam Deck is a powerful handheld device that can do much more than just run your Steam library. With its Linux-based SteamOS, the handheld console is perfect for running retro games through emulation. Whether you want to play classic NES, SNES, PlayStation, or even GameCube titles, installing emulators on your Steam Deck opens up a world of possibilities.
This guide will walk you through how to install emulators on your Steam Deck, configure them properly, and ensure the best possible experience for your retro gaming sessions.
Emulation on Steam Deck
Before diving into the installation process, it’s important to understand what emulation is and how it works on the Steam Deck. Emulation is the process of using software to replicate the hardware of older gaming consoles, allowing you to run classic games on modern devices.
The Steam Deck runs SteamOS, a Linux-based operating system, but thanks to its compatibility layers and Desktop Mode, you can install and run a wide variety of emulators. Some of the most popular emulation solutions include:
- RetroArch – A multi-system emulator with a wide range of supported consoles.
- Dolphin – A dedicated emulator for GameCube and Wii games.
- PPSSPP – A high-performance emulator for PSP games.
- PCSX2 – A PlayStation 2 emulator.
- RPCS3 – A PlayStation 3 emulator, though performance varies by game.
- Yuzu and Ryujinx – Nintendo Switch emulators, though they require a powerful system.
How to Install Emulators on Your Steam Deck
Step 1: Enable Desktop Mode
By default, the Steam Deck boots into Gaming Mode, but to install emulators, you’ll need access to the full Linux desktop.
- Hold the Power button until a menu appears.
- Select Switch to Desktop to enter Desktop Mode.
- Once in Desktop Mode, you’ll have access to a taskbar and standard applications.
Step 2: Install EmuDeck for Easy Setup
The simplest way to install multiple emulators on your Steam Deck is by using EmuDeck, a comprehensive emulation setup tool.
- Open the Firefox or Chromium browser in Desktop Mode.
- Navigate to EmuDeck’s official website and download the installation script.
- Locate the downloaded file in Dolphin File Manager and right-click it.
- Choose Run in Konsole to start the installation process.
- Follow the on-screen instructions to set up EmuDeck with your preferred emulators.
EmuDeck automatically configures optimal settings for different emulators and organizes your ROMs efficiently.
Step 3: Manually Installing Individual Emulators
If you prefer a more hands-on approach, you can install emulators individually through Discover, Steam Deck’s built-in software store.
- Click the Discover icon in the taskbar (a shopping bag symbol).
- Search for an emulator, such as RetroArch, Dolphin, or PCSX2.
- Click Install and wait for the process to complete.
- Once installed, launch the emulator and configure it according to your preferences.
Step 4: Adding ROMs to Your Steam Deck
To play games, you’ll need ROMs, which are digital copies of your game discs or cartridges. Ensure you own a physical copy of any game you emulate to stay within legal guidelines.
- Transfer ROMs to your Steam Deck using a USB drive, microSD card, or network sharing.
- Store ROMs in a dedicated folder, such as
/home/deck/roms. - Open your emulator and configure it to detect the ROM folder.
Step 5: Adding Emulators to Steam for Easy Access
For a seamless experience, you can add your emulators to Steam so they appear in Gaming Mode.
- Open Steam in Desktop Mode.
- Click Add a Game (bottom-left corner) and select Add a Non-Steam Game.
- Browse for your emulator (e.g.,
RetroArchorDolphin) and select Add Selected Programs. - Return to Gaming Mode, where your emulators will now appear in the Steam Library.
Optimizing Your Emulation Experience
Customizing Controller Layouts
The Steam Deck has built-in support for custom controller layouts. To optimize controls for emulated games:
- Open Steam in Gaming Mode.
- Select the emulator and press the Steam button.
- Choose Controller Settings and customize the layout.
Upscaling Graphics and Performance Tweaks
Many emulators allow you to improve graphics quality. Here are a few key settings to tweak:
- Dolphin – Enable Internal Resolution Scaling to improve visuals.
- PCSX2 – Adjust Texture Filtering and Upscaling settings.
- PPSSPP – Enable Rendering Resolution Scaling for sharper graphics.
Managing Storage and Performance
If you plan to install a large number of games, consider using a high-speed microSD card or an external SSD. Additionally, for more demanding emulators like RPCS3 and Yuzu, adjusting CPU and GPU settings in the Steam Deck Performance tab can improve stability.
Troubleshooting Common Issues
Emulator Not Launching
If an emulator refuses to launch:
- Ensure all dependencies are installed through Discover.
- Try running the emulator via Konsole to check for missing libraries.
Games Running Slowly
- Lower resolution and graphics settings within the emulator.
- Use FSR (FidelityFX Super Resolution) on the Steam Deck to boost performance.
- Make sure your Steam Deck’s firmware and software are up to date.
Controller Not Working in Emulators
- Check if Steam Input is interfering by disabling it in Steam Controller Settings.
- Manually configure controls within the emulator.
Conclusion
Now that you know how to install emulators on your Steam Deck, you can transform your handheld into the ultimate retro gaming machine. Whether you use EmuDeck for a streamlined setup or prefer to install each emulator manually, the Steam Deck provides incredible flexibility for running classic games. With the right configurations, optimizations, and legal ROM backups, you can enjoy your favorite retro titles anytime, anywhere.